Steps
1. Log into the app
Click the login button (top right) and log into Plannerly.

Screenshot - login to Plannerly
2. View accounts and projects
After logging in, you will see your accounts on the left and the projects within each account.

Screenshot - accounts and projects navigation
3. Access File Manager
Open File Manager (on the left) to view all files uploaded within the project.
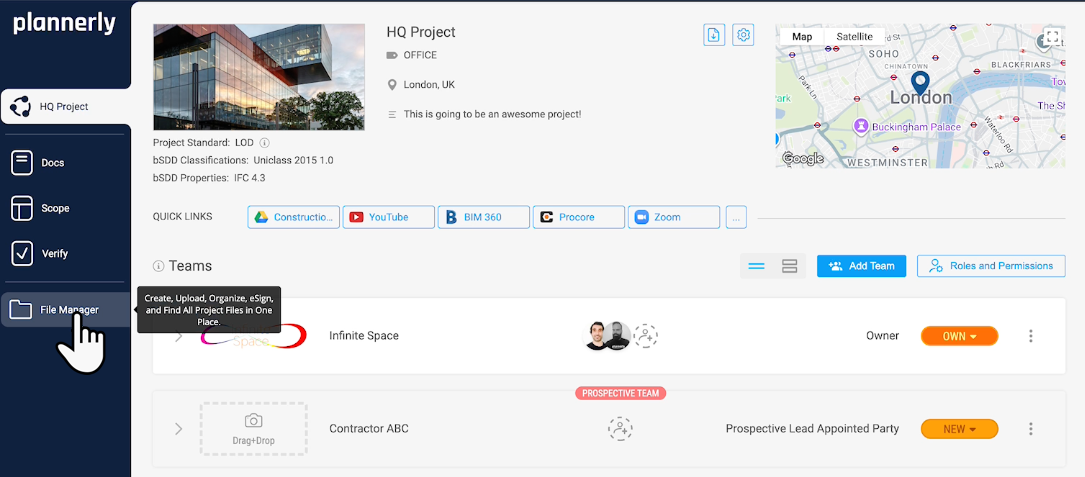
Use the three dots (actions menu) to download.
Screenshot - Find File Manager on the left in your project
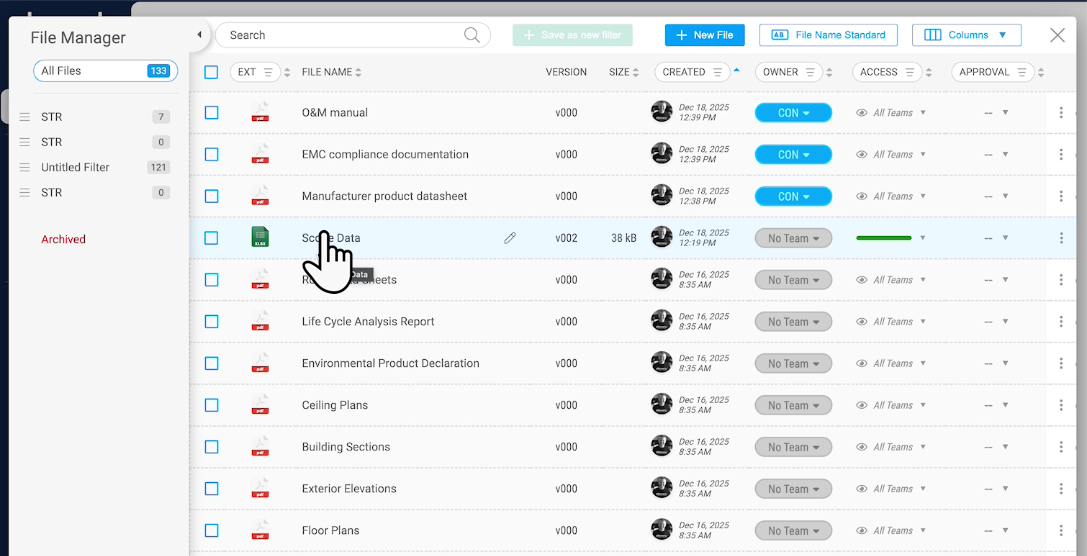
4. Open to view and download documents
Click a document to view it. Use the three dots (actions menu) to download.

Screenshot - view and download from the actions menu
5. Manage tasks and attachments (in Scope)
Open tasks in the project scope to view attached files and document requirements.

Screenshot - tasks can contain (and request) the files you need
6. Open folders to see the relevant tasks
The screenshot shows the Scope module and how you can have document requirements for different scope tasks.

Screenshot - document requirements linked to scope tasks
7. Upload required documents
Each task can have placeholders to upload documents and also download existing documents from those placeholders.

Screenshot - upload/download via task placeholders