How to Change the Name on Your Plannerly Training Certificate
If you’ve updated your name and need your Plannerly training certificate to reflect the change, follow the steps below. This guide explains how to update your profile and regenerate your certificate so the new name appears correctly.
Step 1: Update Your Profile Name
Your certificate pulls the name directly from your Plannerly profile. Before regenerating the certificate, make sure your details are correct.
- Go to your Plannerly Profile
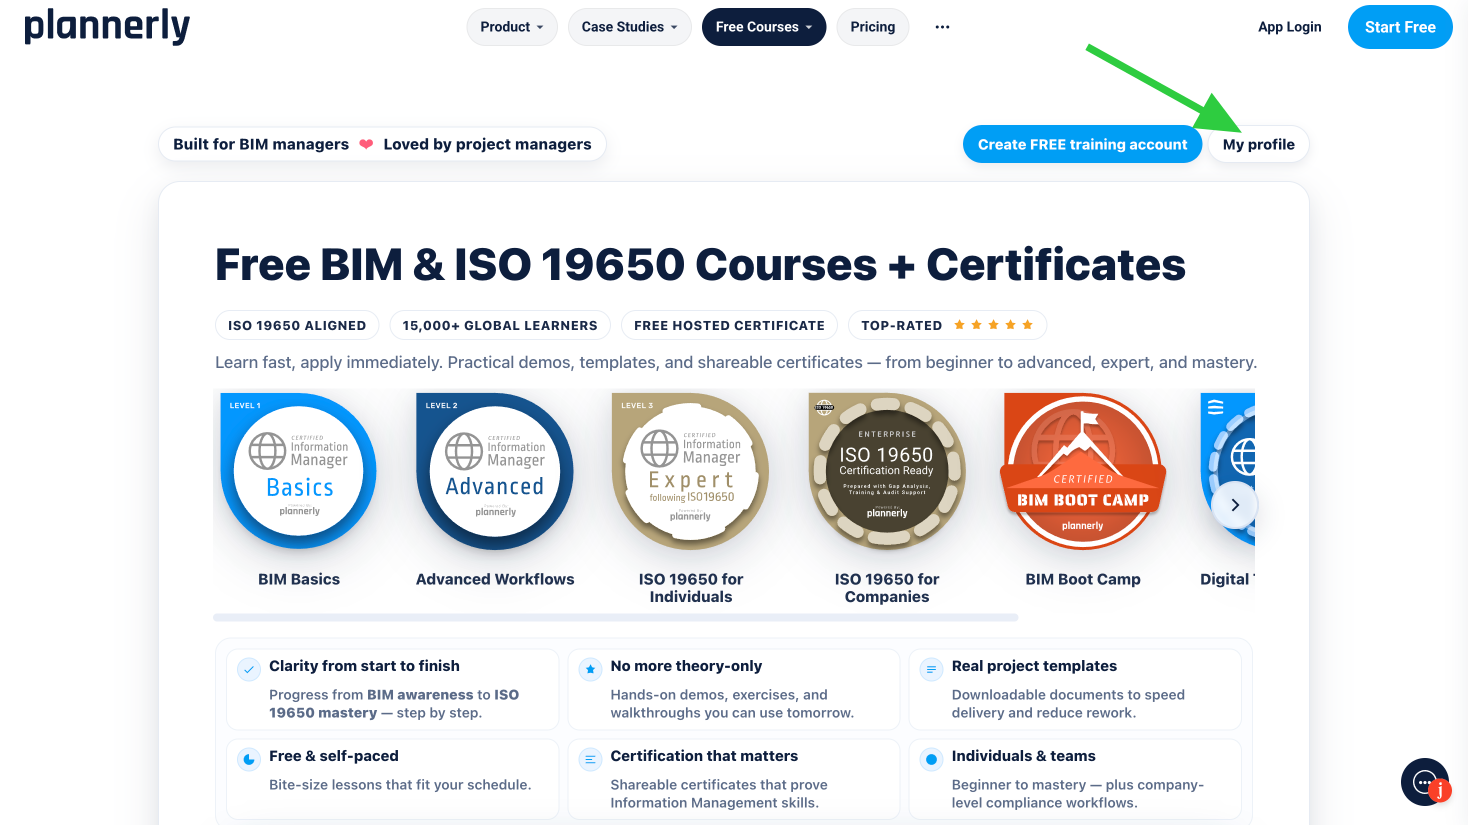
On this page, click My Profile.
- Update the following fields:
- First name
- Last name
- Display name – this is the name that appears publicly and on certificates (after regenerating the certificate)
- Click Save to apply your changes
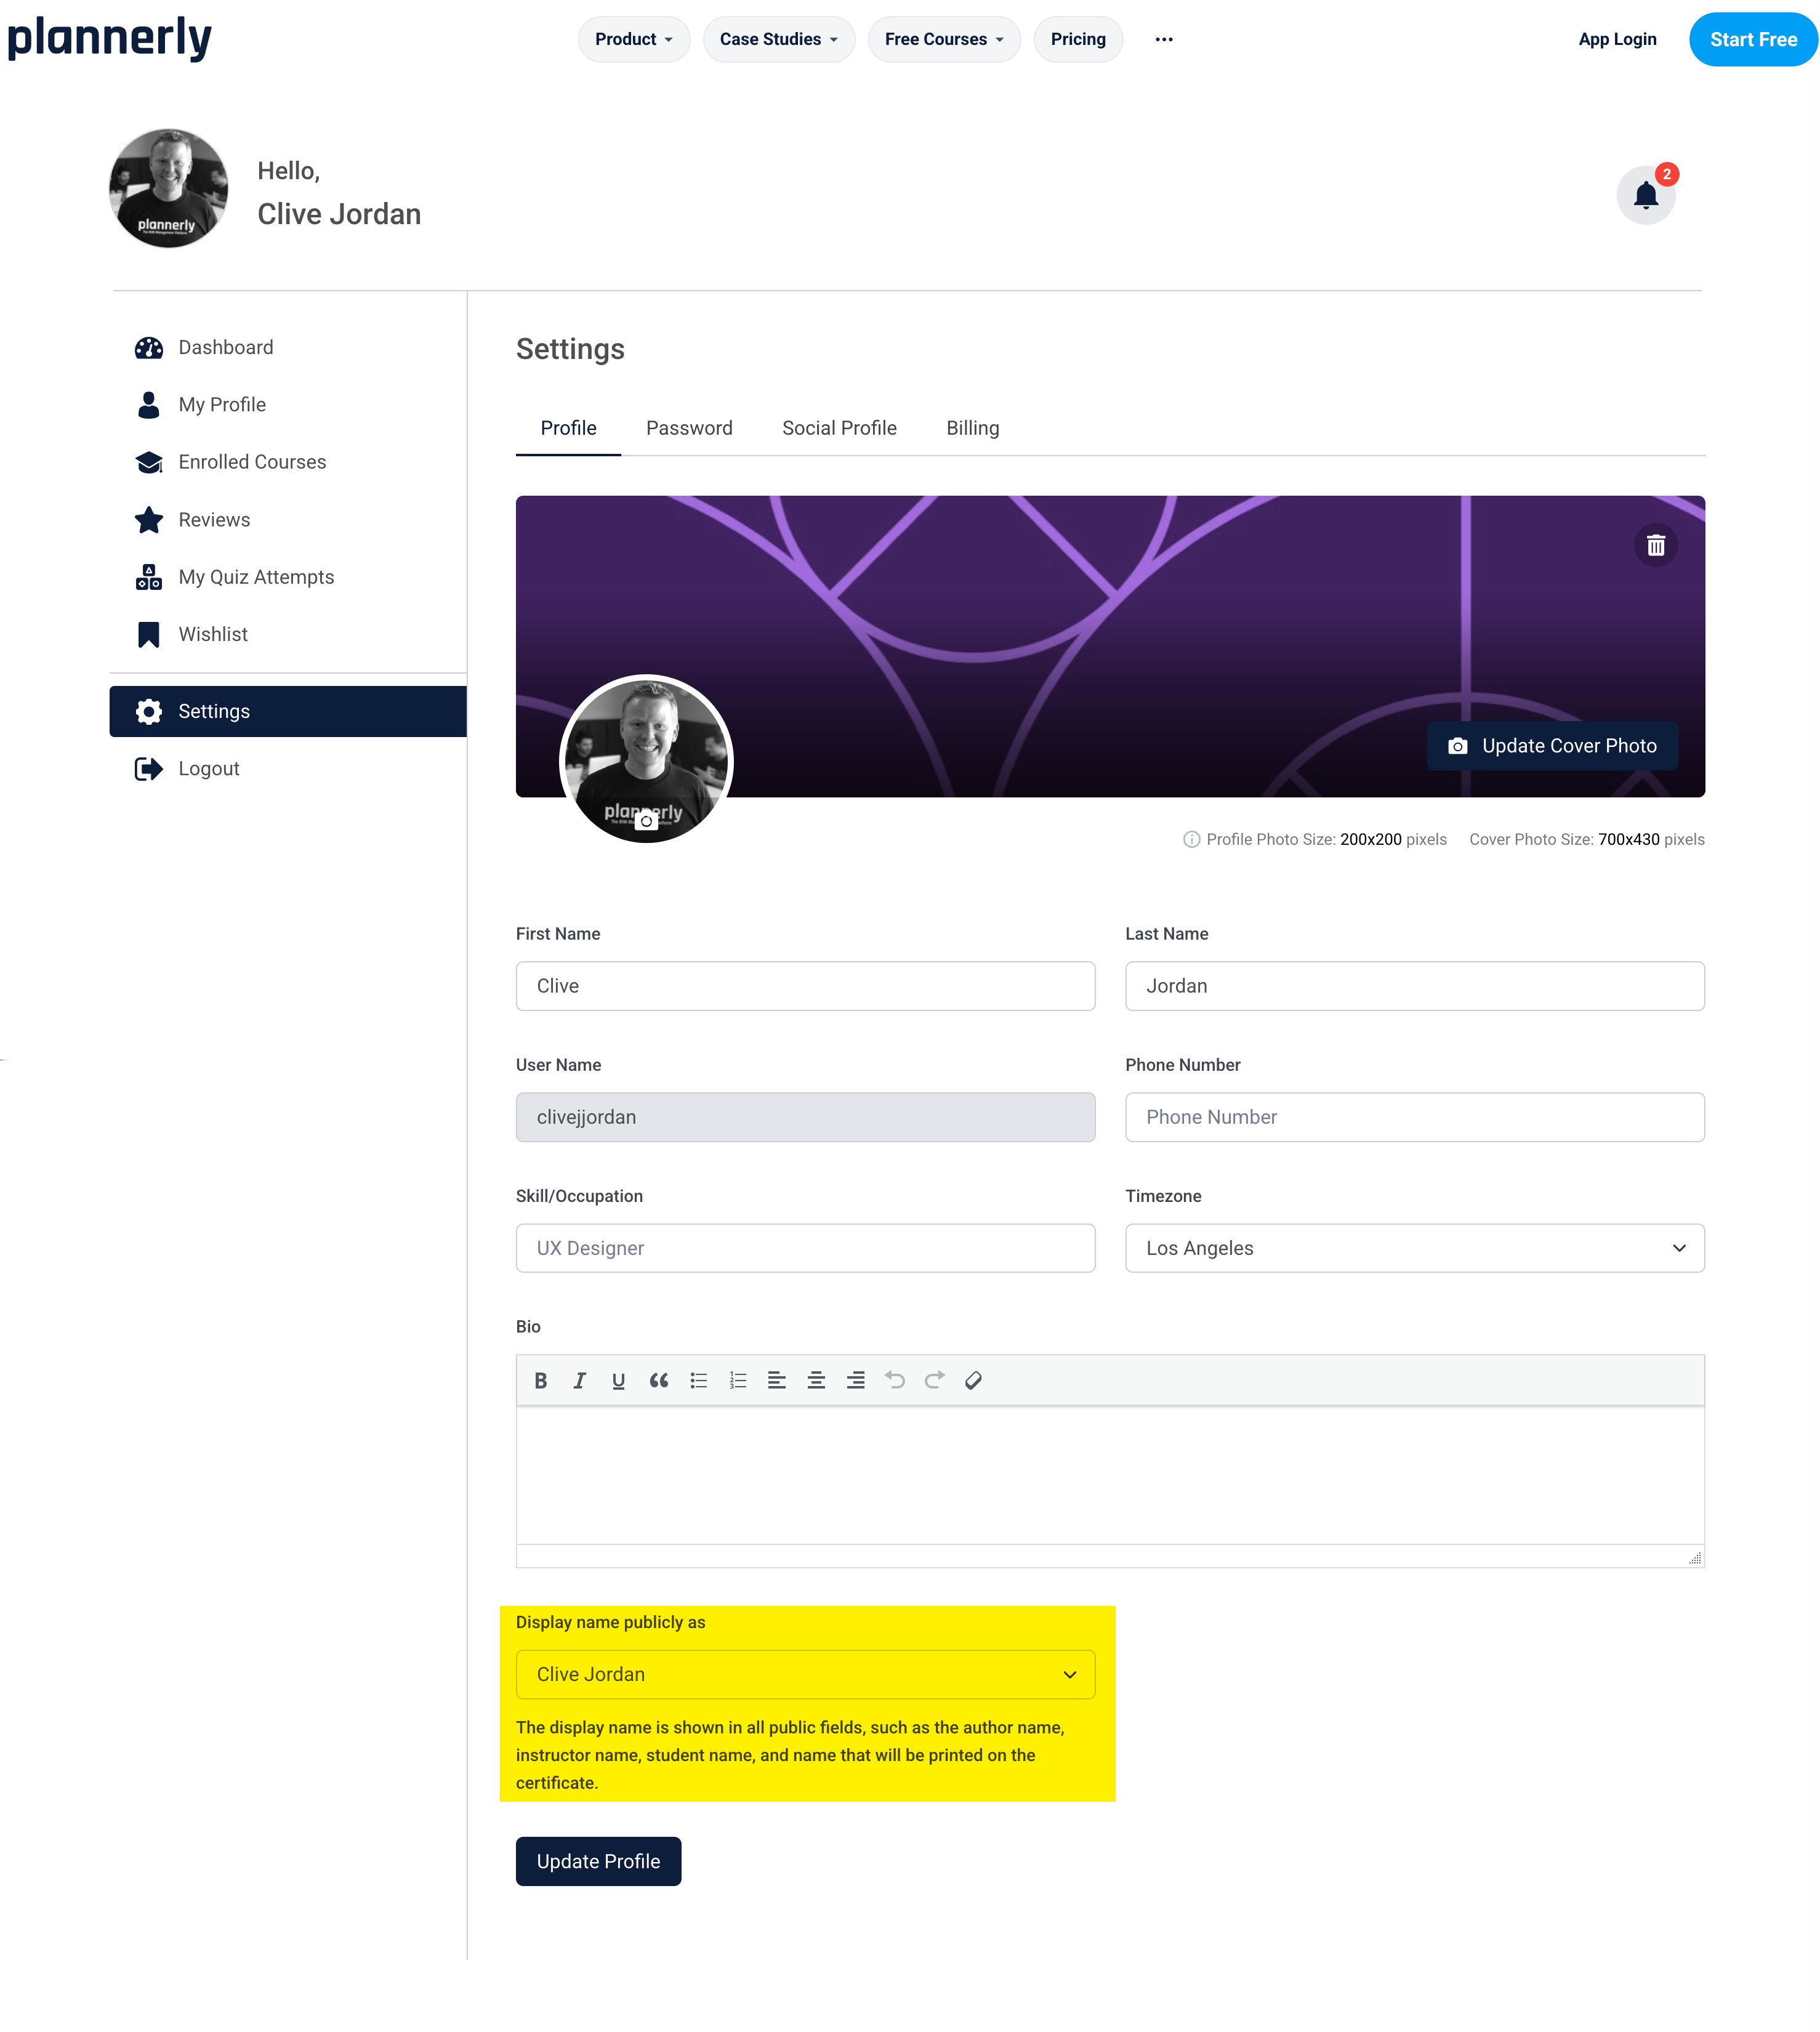
Important: Updating your profile does not automatically update existing certificates. Your new name will only appear after you regenerate the certificate.
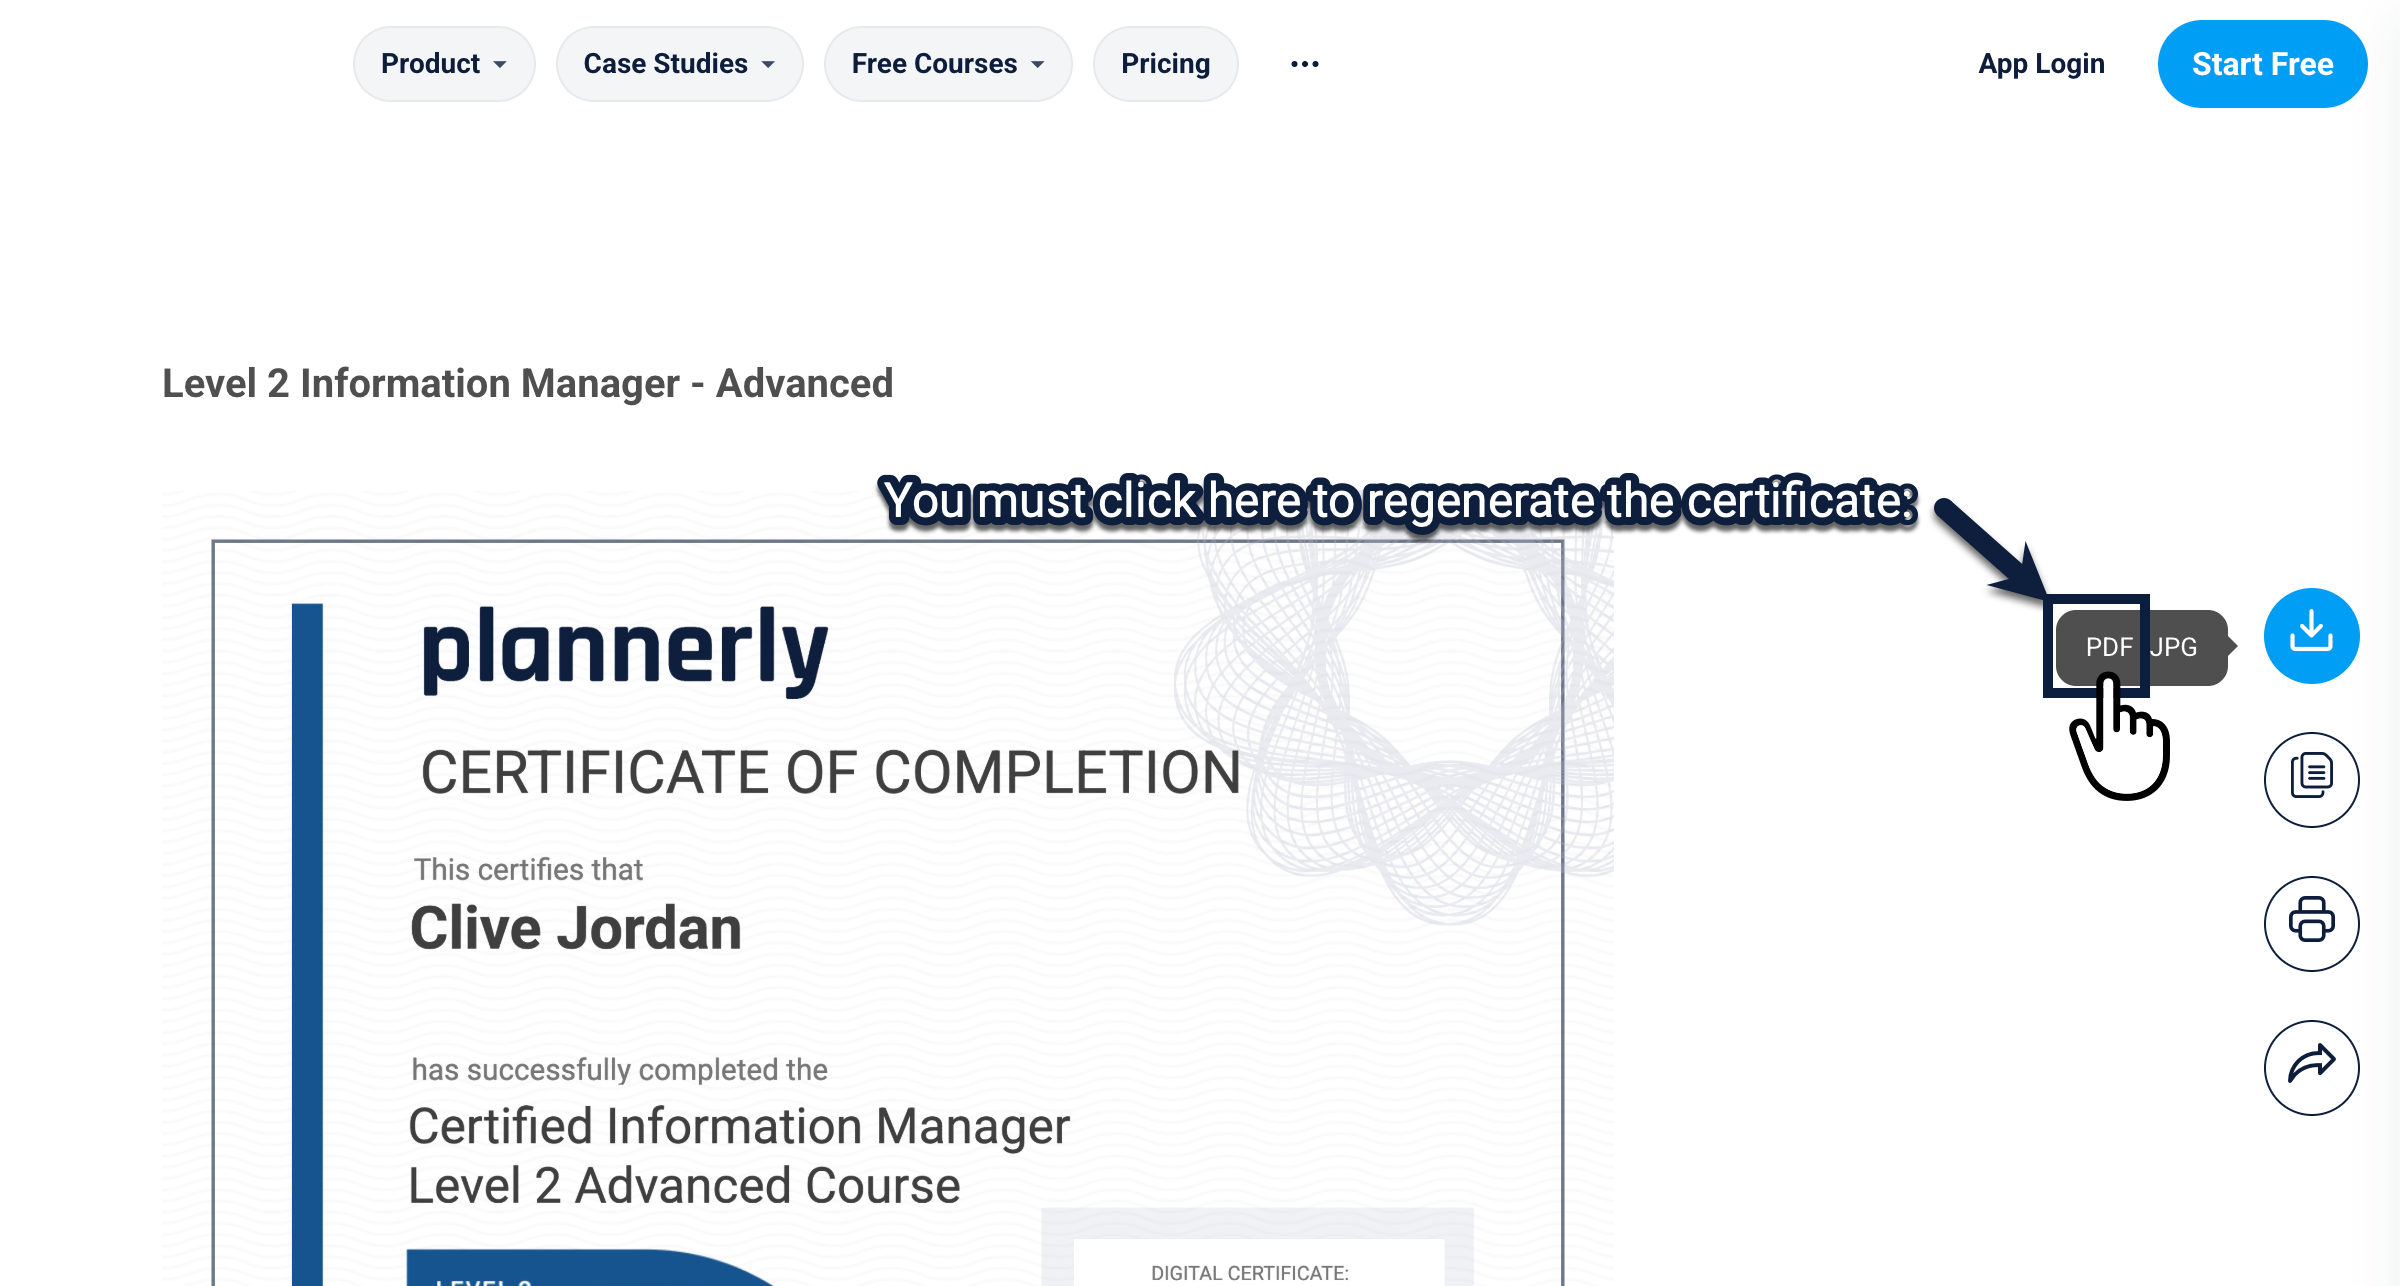
Step 2: Regenerate Your Certificate with the New Name
Once your profile is updated, you’ll need to manually regenerate your certificate using a special URL parameter.
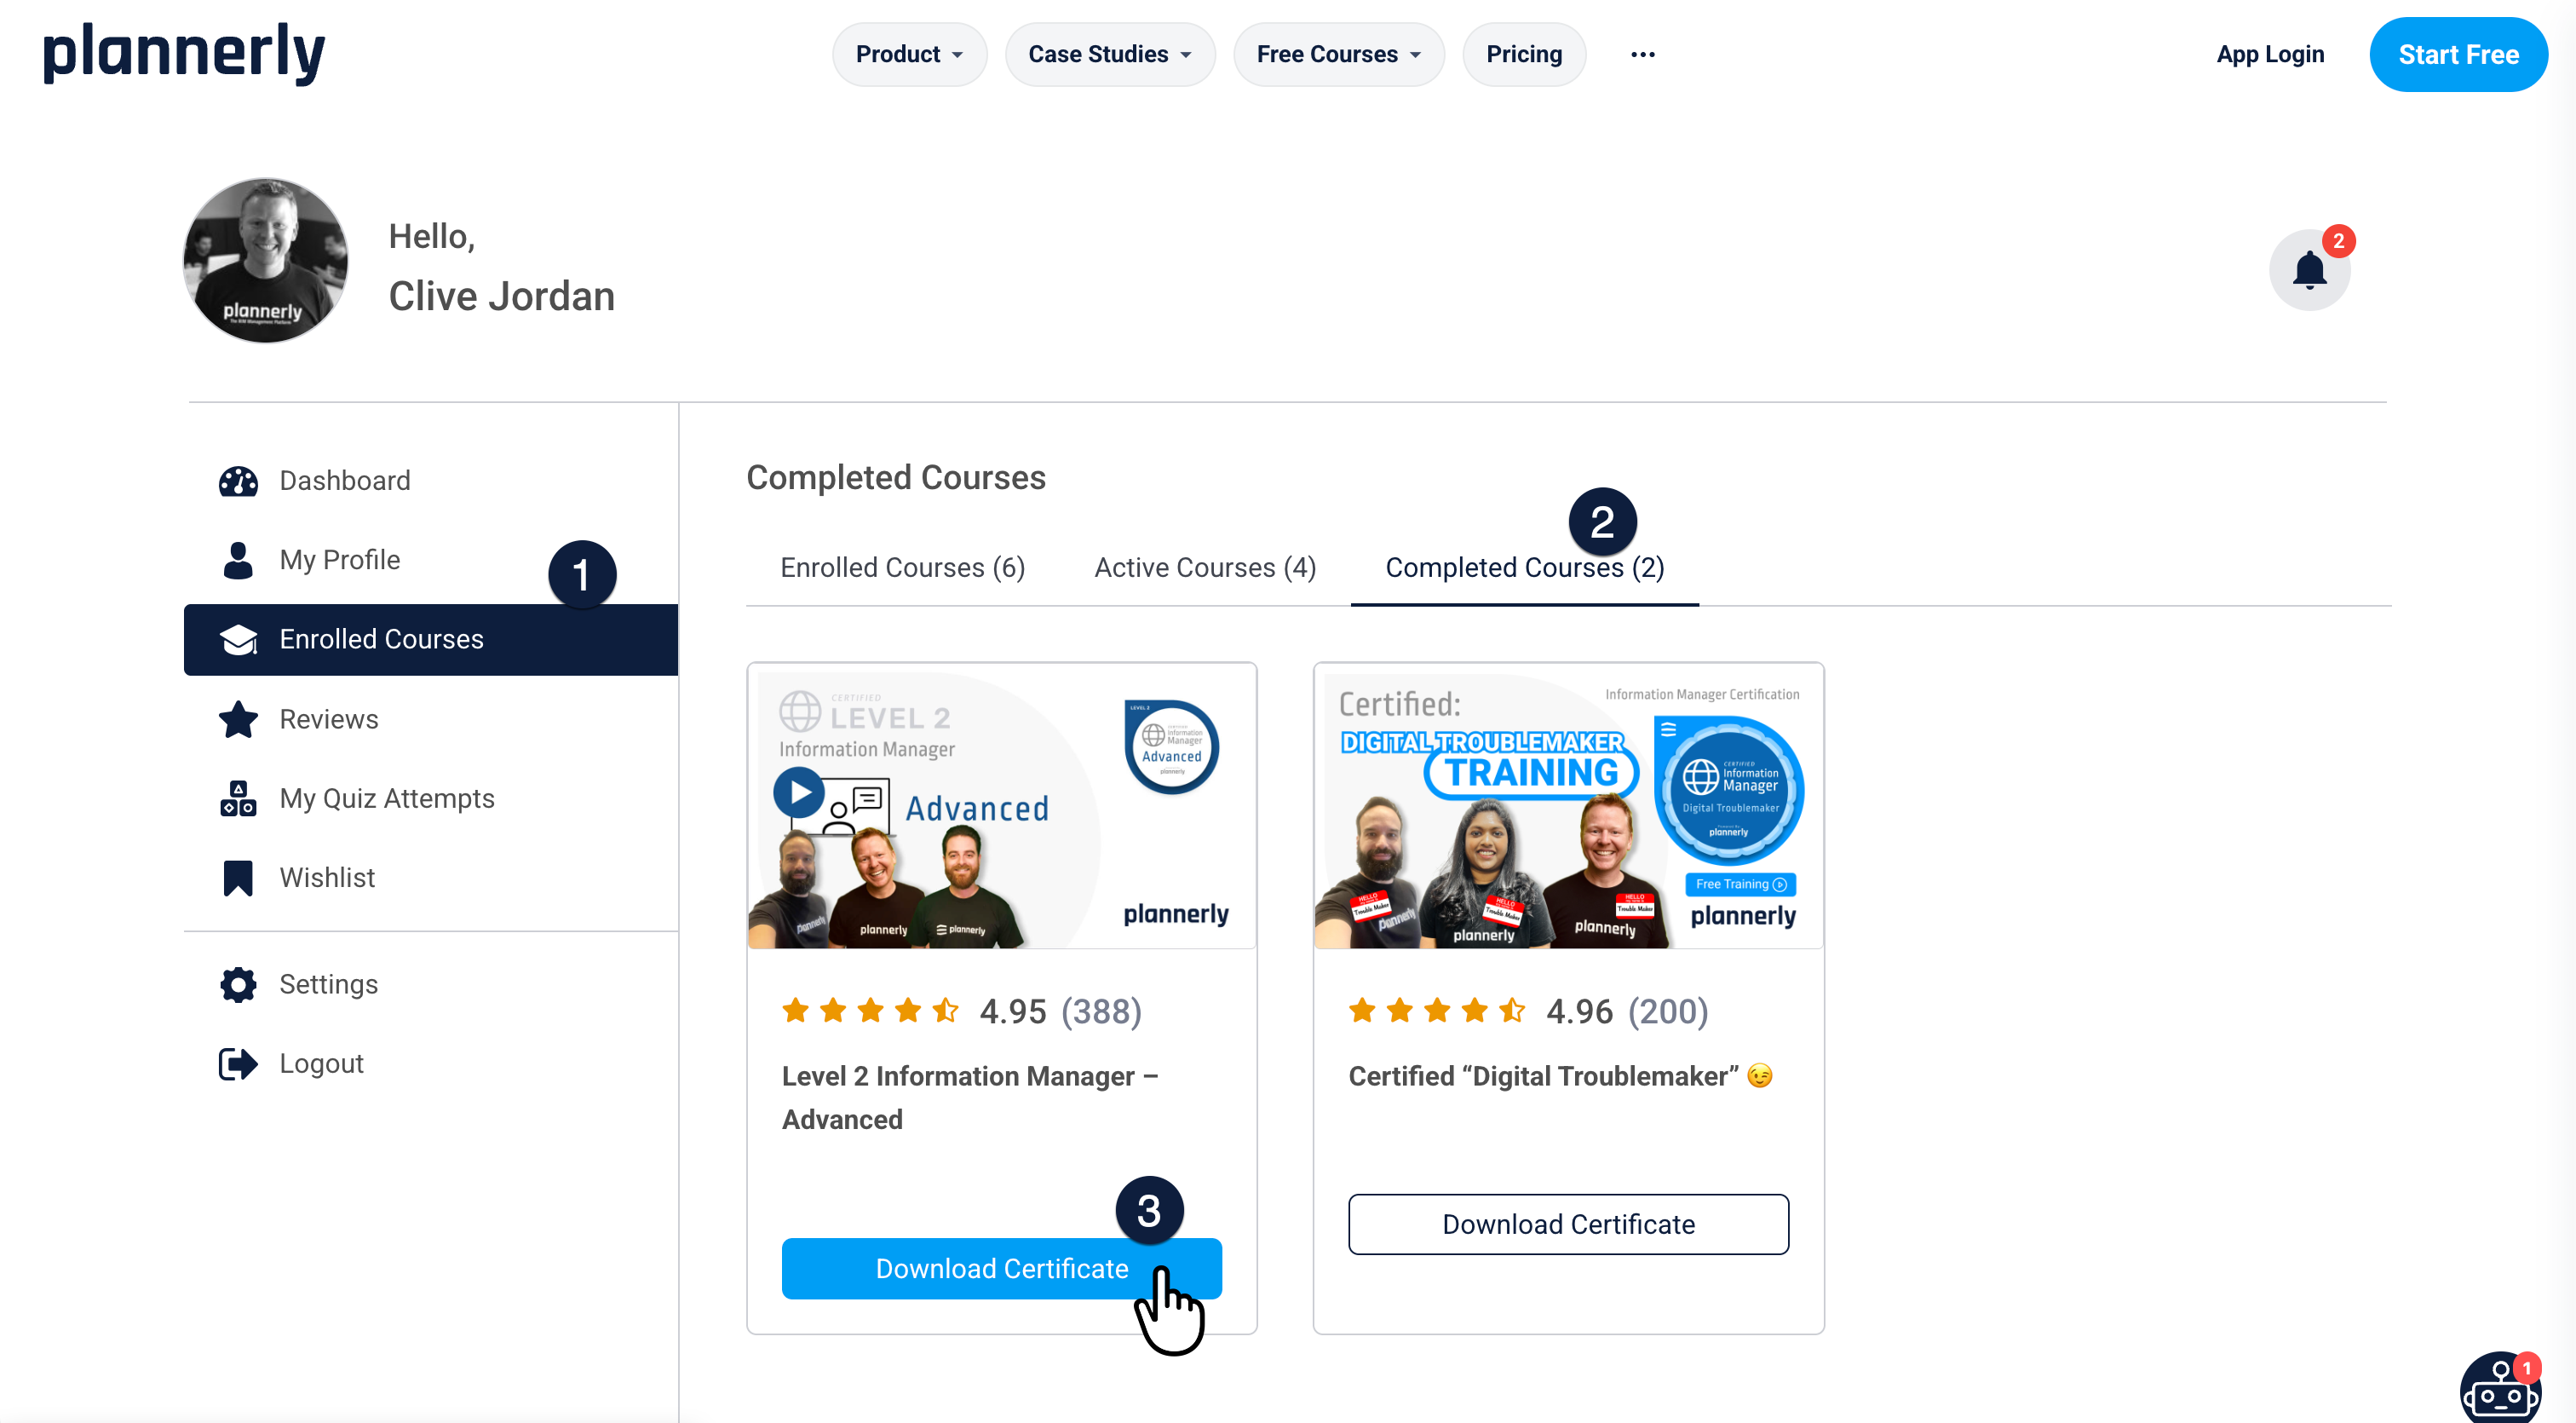
- Go to your Completed Courses page:
https://plannerly.com/dashboard/enrolled-courses/completed-courses/ - Click the course for which you already have a certificate.
- When the certificate page opens, copy the certificate URL from your browser.
- Add
®enerate=1to the end of the URL.
Example:https://plannerly.com/tutor-certificate/?cert_hash=c26b7afcb28f2721
becomeshttps://plannerly.com/tutor-certificate/?cert_hash=c26b7afcb28f2721®enerate=1 - Press Enter or refresh the page.
- The certificate will regenerate automatically using your updated profile name.
- Download the new PDF – this version will include your corrected name.
Done
Your updated Plannerly certificate is now ready to download, share, frame, or post on LinkedIn.
If you have any issues regenerating your certificate or updating your profile name, reach out to us via chat and we’ll be happy to help.