
Who Can Create Workspaces?
Only Account Administrators have permission to create new Workspaces. If you do not see the option, please check with your account administrator or team lead.
How to Create a Workspace
- Log in to your Plannerly account.
- Navigate to the Projects tab.
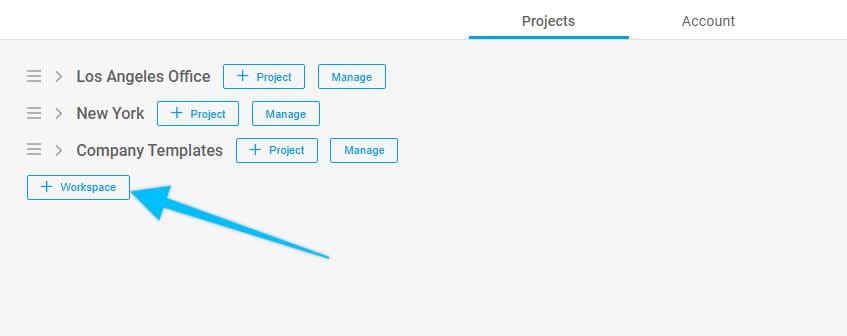
- Scroll to the bottom of your existing workspace list.
- Click the + Workspace button.
- Enter a name for your new workspace and confirm.
Tip
Use Workspaces to group projects by region, team, or purpose. For example: Los Angeles Office, BIM Templates, or Internal Projects.
If you need help managing Workspaces or permissions, please contact our support team through the in-app chat.