Step-by-Step Instructions
1. Create or Open a Project
- Log in to your Plannerly account.
- From the dashboard, click New Project or open an existing project where you would like to create the BEP.
2. Go to the Docs Module
- Inside your project, navigate to the Docs module.
- This is where your BEP and all related documentation will live.
3. Use a BEP Template
- Click + Add a Section or Use Template.
- Choose a BEP template from the Plannerly Library, such as an ISO 19650-compliant BEP.
- Templates include pre-structured sections such as Project Information, Roles and Responsibilities, BIM Uses, and Data Exchange.
4. Customize Your BEP
- Edit the text directly in each section or assign tasks to collaborators.
- Use drag-and-drop to rearrange sections as needed.
- Add links, images, or checklists to make the BEP interactive.
5. Collaborate in Real-Time
- Invite your team or project stakeholders to collaborate.
- Use commenting to clarify sections and mention users for feedback or approval.
- Track changes with version control and activity logs.
6. Set Approval Workflow
- Assign reviewers and approvers to each section or to the entire document.
- Use the built-in approval workflow to formalize agreement.
7. Export or Share
- When ready, share the BEP directly via link or export as a PDF.
- Use e-signatures for official sign-off if required.
Tips for Success
- Use the ISO 19650 BEP template if your project follows this standard.
- Add your company branding and requirements into a custom template for reuse across projects.
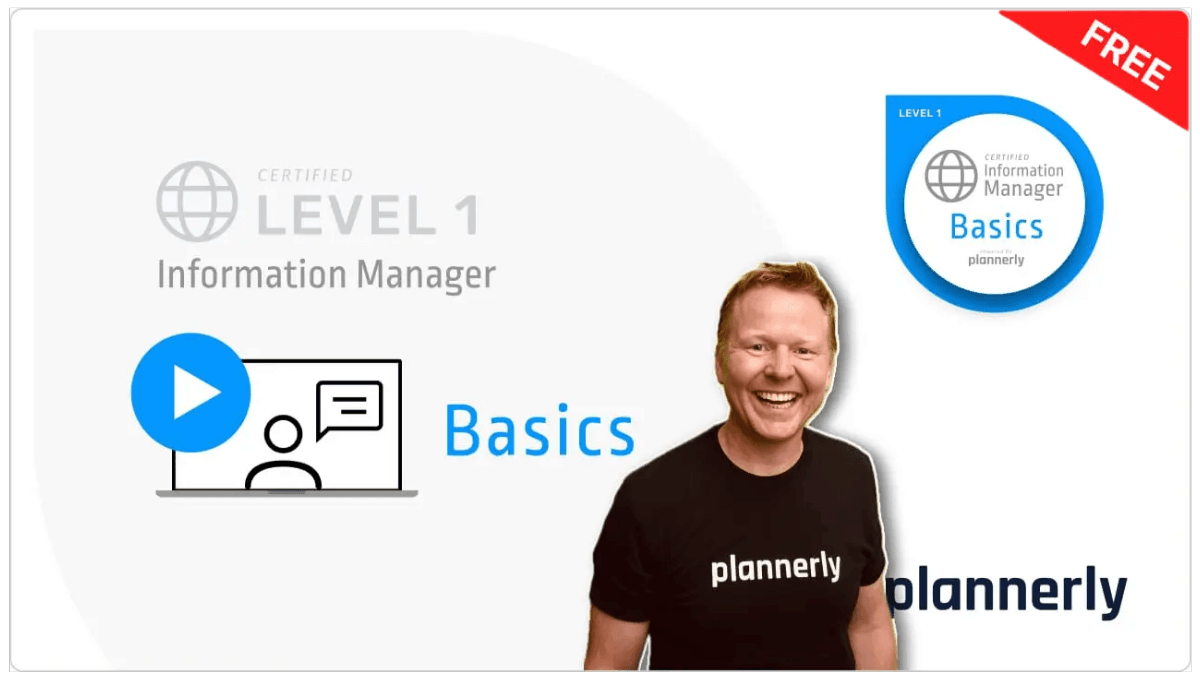
- Take the free Information Management course at plannerly.com/training to strengthen your BEP best practices.
Need Help?
Want a little extra guidance?
- Take our free training courses on Information Management and using Plannerly effectively:
plannerly.com/training - Book a live support or onboarding session with our team:
plannerly.com/meeting
We are here to help you get your BEP set up smoothly and confidently.