TL;DR - In Account Settings, open Settings, then Page Setup and select Add New to set your paper size and margins. Tick Default for new projects and save. Then open Text Styles, select Edit and set your fonts and sizes. Projects are offered the change and take it when they are ready.
Who this is for
Account admins. Account Settings is only open to people on the account's admin list; everyone else is sent back to the home page. Anyone on a project can then use the result; only account admins set it.
Why it matters
If every team sets up its own pages and fonts, documents and exports from the same company never quite match. Setting them once for the whole account means a new project starts on your page and your styles, and the first thing your client sees looks like one company made it.
Set your page size and margins
- Select Account Settings. The sections start closed, so open Settings first.
- Open Page Setup and select Add New. A window opens.
- Type a name in Title, for example "Ridgeline A4".
- Select Exported Paper Size and choose a size, for example A4 (210 x 297 mm). The sizes are Letter, Legal, Ledger / Tabloid, A1 to A5, B4, B5, JIS B4, JIS B5, ANSI C and ANSI D.
- Set the margins in Top:, Bottom: and the side fields. They are in millimetres on A and B sizes and in inches on the US sizes, and switching paper converts them for you.
- Tick Default for new projects and select Save.
Your page setup appears in the list, marked as the page every project starts on. Its row summarises the size and margins, for example "A4, margins 20 mm", and shows how many projects use it.

Set your text styles
- In Settings, open Text Styles and select Edit. The Account Text Styles editor opens.
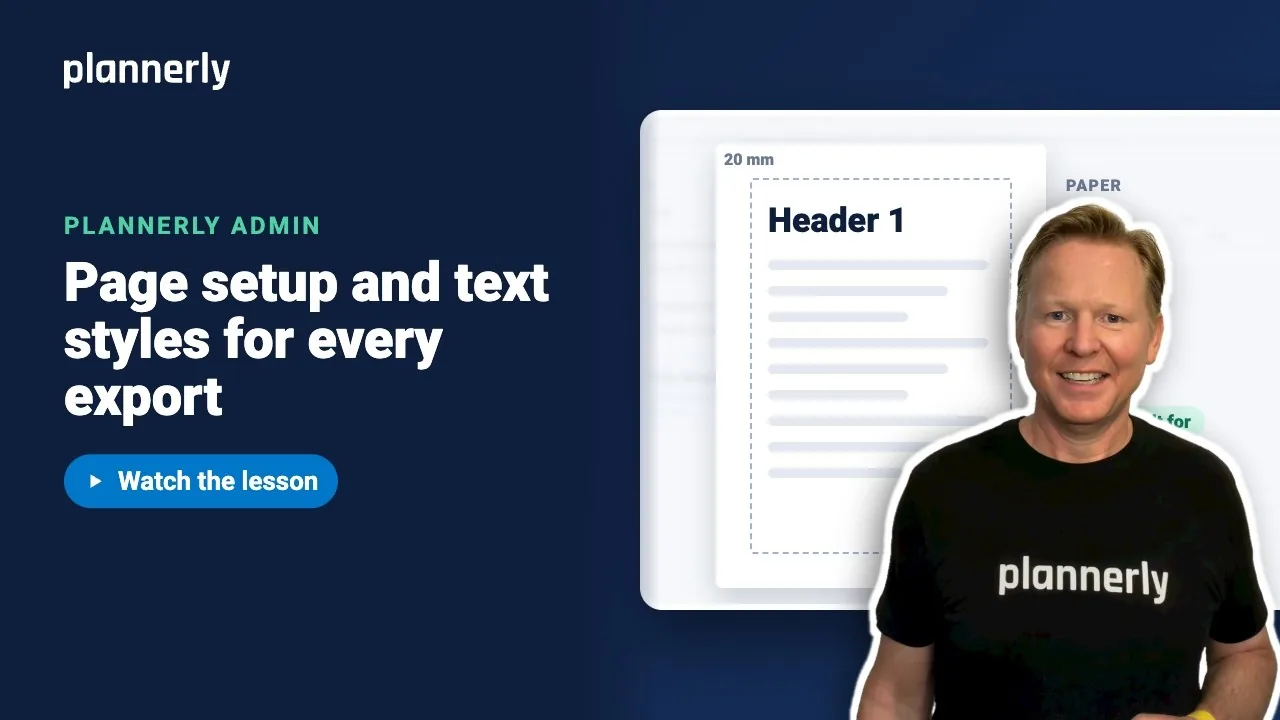
- Select the style you want to change, for example Header 1.
- Use the toolbar to set its font, Font Size and color. In the video the size is set to 24.
- Select Save.
Every project that follows your text styles is offered the change. Nothing moves in a live project until its team accepts it.

What happens on each project
- On a project that follows your standard, a dot appears on Export.
- Someone who can manage documents in that project selects Export, then the Company standard updates item.
- For each change they choose Use update or Keep current, then select Apply.
If it doesn't work
I can't find Account Settings or Page Setup
Only account admins can open Account Settings. Ask one of your account admins. If you are an admin, remember the sections start closed: open Settings first, then Page Setup.
The standards are read only
If custom branding is switched off for the account you see: "Custom branding is switched off, so your standards are read only for now." Every project keeps what it has already adopted.
I saved a change but my project did not change
That is by design. Saving offers the update to every project that follows the standard. Each project chooses when to take it, from the dot on Export. The row in Account Settings shows how many projects are still waiting.
A new project did not start on my page
Check that Default for new projects is ticked on the page setup you want. Projects created before you set it keep the page they already had.
Common questions
How do I set a default paper size for every Plannerly project?
In Account Settings, open Settings then Page Setup, add a page setup with your paper size and margins, and tick Default for new projects. Every new project then starts on it.
Will changing the account text styles alter documents that are already written?
Not on its own. Projects are offered the change and choose when to take it. Until they do, a live project keeps its current styles.
Can a project use different margins from the company standard?
Yes. A project can keep its current settings with Keep current, and a project's own text styles do not change the account text styles.
What happens if I delete a page setup?
Projects that follow it keep the page they have already adopted. Deleting only removes it from the choices for new work.
Related
- Headers and footers that fill themselves in - the next part of the standard.
- Roll out a standard update to projects - how projects take your changes.
- Make Plannerly look like your company - your name, brand look and logo.
- ISO 19650-2 (iso.org) - the information management process these standards support.
Take the free Plannerly Admin course - every lesson is a short video like this one, with a certificate when you finish.