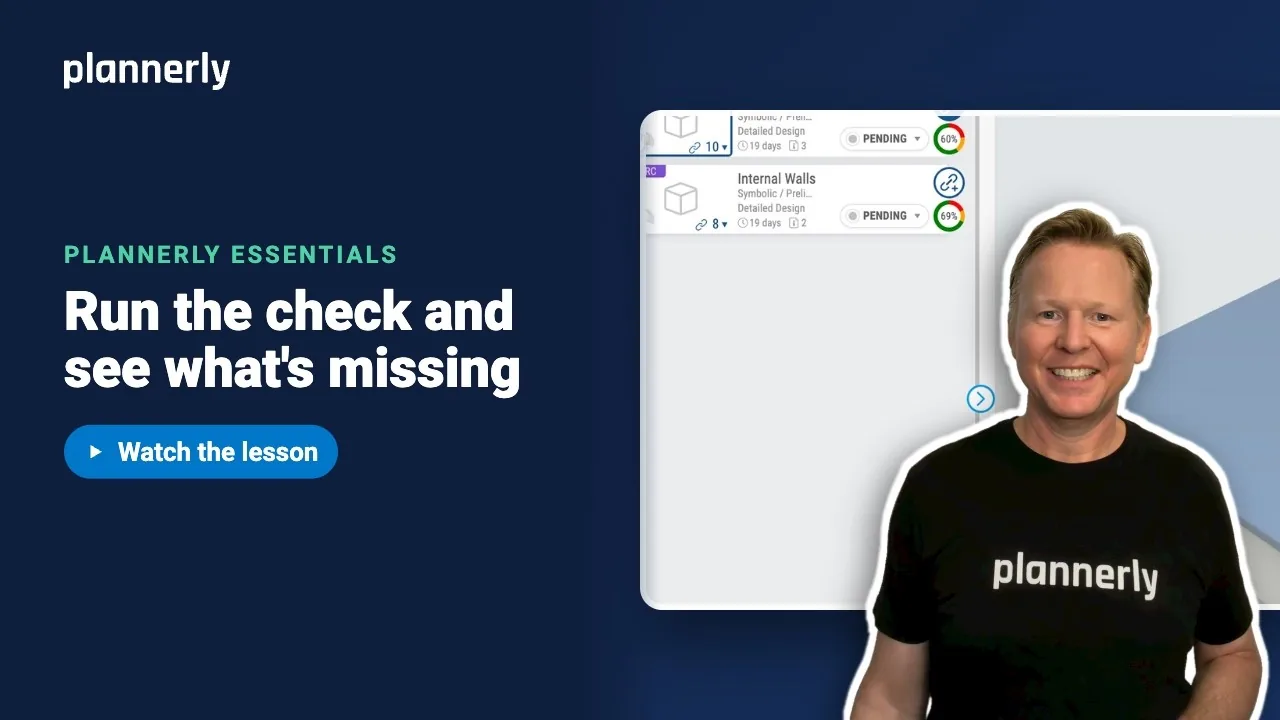
TL;DR - In Verify, select Check, then Check all tasks. Each task card fills in to show how much of what was asked for is really in the model: missing (red, the property isn't there), incorrect (amber, empty or wrong value) or correct (green). Select a count to see those elements in 3D.
Who this is for
People who can manage models can run a check. Everyone who can see Verify can read the results.
Why it matters
Checking property data one element at a time means thousands of elements and one person. A check runs every mapped element against every requirement and tells you where to look.
Run the check
- Open Verify with your Work Package or model open. The Check button in the header shows a number badge: how many tasks need checking.
- Select Check, then Check all N tasks, where N is how many tasks need checking.
- While it runs the button reads Checking. When it finishes, each card shows a donut.

The donut shows the share of requirements met: red is missing, amber is incorrect and green is correct, with the percentage correct in the middle. N/A means the task has no requirements and -- means it has not been checked yet.
Read the result for one task
- On a card, open the expand arrow, for example on External Walls. The Information table lists each requirement with three counts: Missing requirement, Incomplete and/or errors and Complete and correct.
- Select the red count beside a requirement such as FireRating. Those elements are isolated in the model, in red.
- To prove it, open Show Properties, select one of the walls and search for Fire. The FireRating property is not listed at all, because it is missing from the element. A selected element shows in blue.


What the three results mean
- Missing (red): the property is not on the element at all.
- Incorrect (amber): the property is there but empty, has the wrong value or has the wrong unit.
- Correct (green): the property is there and meets the requirement.
In the model the elements light up in the same colours: red, amber or green. An element you select yourself shows in blue.
If it doesn't work
The Check button is missing or greyed out
You need permission to manage models and at least one model in the Work Package. Viewers can read results but not run checks.
A card shows -- or says mapped elements are not current
The task has not been checked since it was mapped or the model changed. Select Check task on the card, or Check in the header.
A card shows No mapped elements
Plannerly does not know which elements belong to the task yet. Add a mapping rule first; see the mapping rules lesson.
A property I can see in the model shows red
The property may sit in a different property group from the one in the requirement, or the name differs slightly (even a space). Articles 115, 159 and 168 explain the common causes.
Common questions
How do I check an IFC model against information requirements?
Upload the model, link tasks to elements, give the tasks requirements, then select Check and Check all tasks in Verify. Each requirement reports missing, incorrect and correct elements.
What do red, amber and green mean in Plannerly Verify?
Red means the property is missing. Amber means it is there but empty or wrong, including wrong units. Green means it is correct.
How do I find which elements are missing a property?
Open the task card, then select the red count on that requirement. The elements are isolated in the model.
Does a check call Autodesk each time?
No. A check runs against the model data Plannerly has already indexed, so processing the model once is enough until a new version arrives.
Does it check automatically?
Not by default. Automatic checking is off until you switch it on in the check popover.
Related
- Tell Plannerly which elements belong to each task - needed before a task can be checked.
- New version? Check it against the same requirements - next.
- Why a parameter is connected but not linking or checking
- How to validate property sets and information requirement groups
- Why do properties turn red after grouping parameters?
- ISO 19650-1 - information requirements and information management.
Take the free Plannerly Essentials course - every lesson is a short video like this one, with a certificate when you finish.