TL;DR - Plannerly cannot check a task until it knows which model elements belong to it. In the Work Package editor, Add mapping rule to match a task field (such as Name) to a model property (such as Type Name), select Test rules, then Save. Map any leftovers by hand with Map selected.
Who this is for
People with the permission to manage Work Package mapping rules (Managers by default; Editors do not). Mapping a single task by hand needs the permission to manage scope item rules.
Why it matters
Plannerly can't check the external walls until it knows which bits of the model are external walls. A rule does that once for every task that matches, instead of linking elements one at a time.
Add a mapping rule
- Open the Work Package and select Edit on it (the editor title reads Editing and the Work Package name).
- Select Add mapping rule.
- Under Task field choose Name (the other options are Code and Entity Type). The rule reads: task field equals model property.
- In the Property box, type the model property, such as Type Name, and pick it from its group in the list (for example Identity Data).

Several rules combine as Any mapping rule (OR): an element matches if it meets at least one. Suggest mapping rules offers rules for you to review.
Test it, then save
- Select Test rules.
- Read Mapping test results: Mapped tasks (how many of the Work Package's tasks matched, for example 5 of 5) and Mapped elements (how many model elements those rules reach). A task that is not counted has no match yet.
- Happy with it? Select Save.

Map what the rule missed
- In the 3D model, select the elements the rule missed.
- On the task, open its link button (Map to Model Elements) and select Map selected, which shows the number selected, for example Map selected (3).
- For more than 50 elements, use Map by rules instead; manual mapping is limited to 50 at a time.

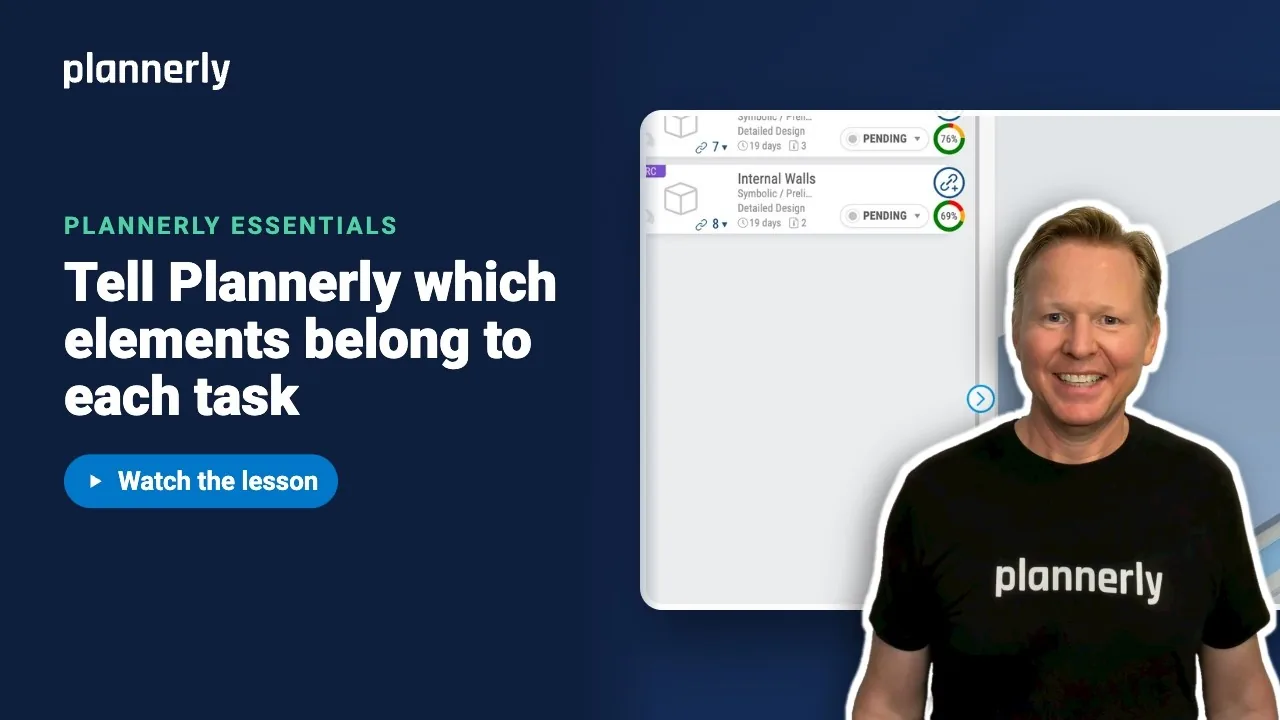
Each task card now shows a chip with how many elements it covers (tooltip Mapped Elements). Click the card and those elements light up in the model.

If it doesn't work
Test rules maps fewer tasks than I expected
The task field and the model property do not match. Names must be equal, so compare the task name with the Type Name in the model; stray spaces and different spelling both break a match. Article 115 explains the common causes.
I can't find my property in the list
Search for the property name and pick it from its group. If the property is stored in a different group in the model, it appears under that group. The model must also be processed: if you see Process model, select it first.
Add mapping rule is missing or greyed out
Your role does not include the permission to manage Work Package mapping rules. Ask a Manager.
My scope-from-model tasks ignore the Work Package rule
Tasks created with Create scope from a model have their own task rules, so the shared Work Package rule does not apply to them. Change their mapping on the task, with Map to Model Elements.
Common questions
How do I link tasks to model elements in Plannerly?
Add a mapping rule in the Work Package, such as Name equals Type Name, then select Test rules and Save. Add anything the rule misses by selecting elements in 3D and choosing Map selected on the task.
What is the difference between a mapping rule and Map selected?
A rule links every matching element automatically and keeps working as the model changes. Map selected links the elements you picked by hand, up to 50 at a time.
Can I use more than one rule?
Yes. Add another rule and elements matching any rule are mapped.
How do I see which elements a task covers?
Click the task card. Its mapped elements light up in the model, and the chip on the card shows how many there are.
Related
- Choose what you're checking - create the Work Package first.
- Run the check and see what's missing - next: check the mapped elements.
- Choose the linking level for model checking - linking one element by hand.
- Why a parameter is connected but not linking
- How long does it take to upload and process files?
Take the free Plannerly Essentials course - every lesson is a short video like this one, with a certificate when you finish.