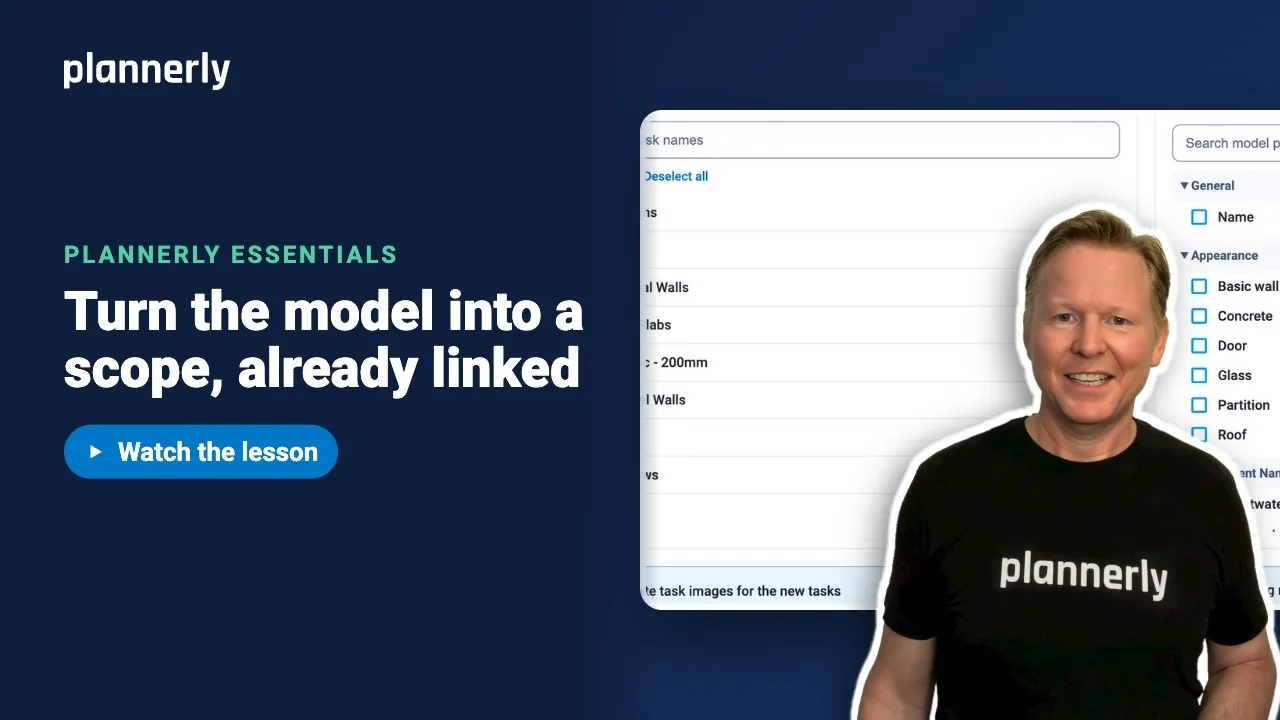
TL;DR - In Scope or Verify, open Import and choose Create scope from a model. Pick the model, choose the property that defines each task (for example Type Name), choose the requirements and milestone, then select Create scope. Each task arrives linked to its model elements.
Who this is for
People who can manage scope items. To add requirements you also need the manage information requirements permission, and to link tasks automatically you need the permissions to manage mapping rules and models. Managers have all of these by default.
Why it matters
Building a scope row by row is slow, and the model already knows what is in it. Starting from the model gives you one task for each type, ready to plan and check like any other scope.
Create the tasks from the model
- In Scope or Verify, open the Import menu, then select Create scope from a model.
- Under the source model selector, pick your model.
- In the Model property statistics table, find the property that says what each task is - for example search for Type Name - and select it. The table shows how many elements have a value for each property.
- Select Review tasks. Under Choose the tasks to create, every task starts ticked. Untick any you do not want, for example Generic - 200mm.


Prefer a property that is filled in on every element, such as Type Name. The coverage column shows how complete each property is.
Add the requirements and choose the milestone
- Under Information requirements, search the model properties and tick the ones you want checked, for example FireRating.
- Choose the milestone under Create tasks at milestone, for example Detailed Design.
- Review the three options, which are ticked by default when your role allows them (the last one ticks once you add a requirement): Generate task images for the new tasks, Automatically map and link tasks to matching model elements and the option to connect the selected information requirements. Keep the link option on.

Create the scope
- Select Create scope.
- Wait for Your scope is ready. The tasks appear in Scope and the links to model elements follow once processing finishes.

If it doesn't work
I don't see Create scope from a model under Import
You need permission to manage scope items. Ask a project Manager. The project also needs a model that has finished uploading.
The property table says values are still being prepared
The message Property values for this model view are still being prepared means the model has not finished indexing. Select Check again after a few minutes.
My requirement shows Added to the requirements library only
None of that task's elements has a value for the property, so Plannerly did not attach it to the new task. Choose a property that is filled in on at least some elements, or add the requirement to the task by hand.
The tasks were created but show no linked elements
Linking runs after the scope is created. The result says that link and check has been requested in Verify. Wait for it to finish, and make sure the automatic mapping option was ticked.
Common questions
Can I create a Plannerly task list from an IFC model?
Yes. Use Import, Create scope from a model in Scope, choose the property that defines each task, such as Type Name, and Plannerly creates one task for each value you tick.
What are the information requirements in this window?
They are the model properties you want every task checked for, such as FireRating. They become requirements on the new tasks, and the check later reports where they are missing or wrong.
What does Generate task images do?
It creates a reference image for each new task in the background. Untick it if you do not need images.
Do I need to start from the model?
No. You can still build a scope by hand or from a spreadsheet, and link tasks to elements later with mapping rules.
Related
- Bring your model into Plannerly - upload the model first.
- Choose what you're checking - next: group tasks and models into a work package.
- Tell Plannerly which elements belong to each task - if you built tasks by hand.
- ISO 19650 requirements management in Scope
- Why a parameter is connected but not linking
- ISO 19650-1 - the standard behind information requirements.
Take the free Plannerly Essentials course - every lesson is a short video like this one, with a certificate when you finish.