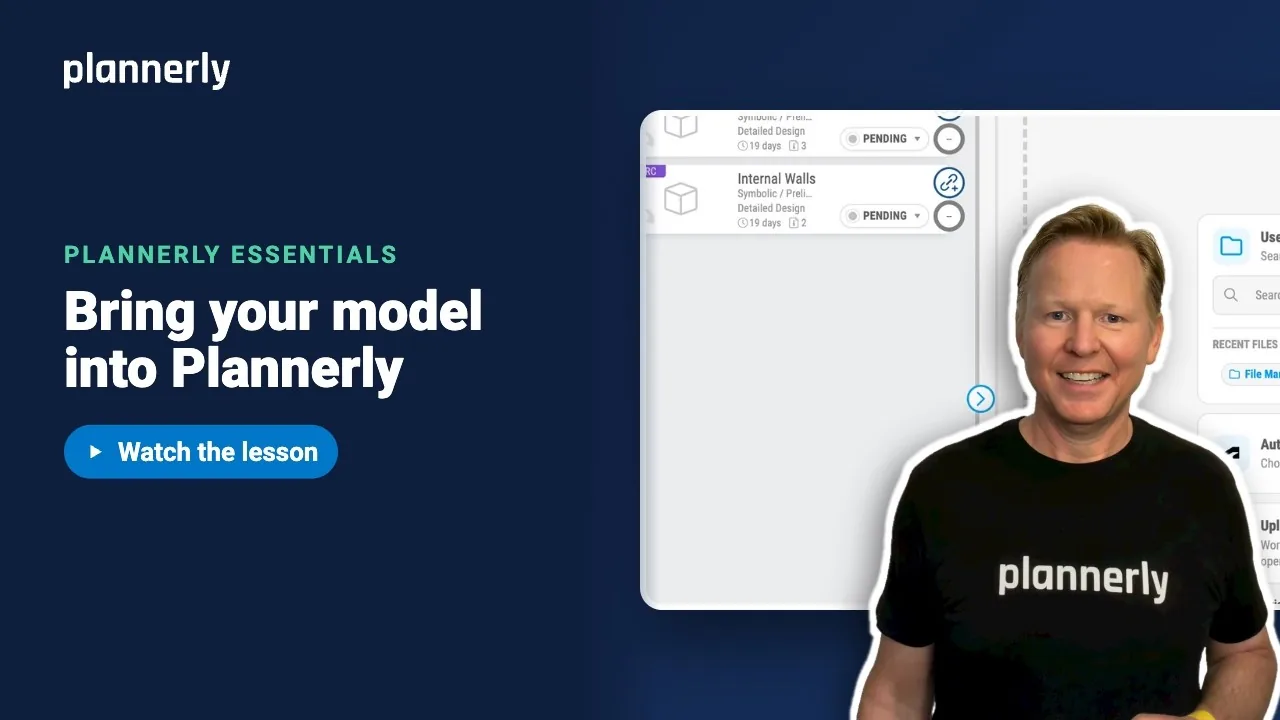
TL;DR - Open Verify, drop your model onto Upload File and select Upload. Plannerly uploads it, prepares it for viewing and opens it in 3D. On Autodesk Forma, use the Autodesk Forma card to connect the model instead.
Who this is for
Anyone with the manage models permission on the project. Managers and Editors have it by default; Viewers do not.
Why it matters
Models turn up by email, by link and in shared folders, and nobody is sure which one is being reviewed. Put the model in Verify once and everyone checks the same one, in 3D, next to the tasks it has to deliver.
Upload a model from your computer
- In your project, open Verify. When no model is open, the canvas says Check your model and shows three cards: Use Existing File, Autodesk Forma and Upload File.
- Drag your model onto Upload File, or select it and choose the file. Models such as IFC and Revit (RVT) work; the card lists the supported types.
- In the Review files before uploading window, check the file name, then select Upload.
- Watch the progress card. It moves through Uploading model and Preparing model for viewing to Model ready. Large models can take a few minutes, and you can carry on with other work.


Connect a model from Autodesk Forma instead
- On the Check your model canvas, select Autodesk Forma.
- Sign in to Autodesk if asked. If your account uses an Autodesk service account, you go straight on.
- Pick your project under Select one of your Autodesk Forma projects:, then tick the model or models under Select model(s) from your Autodesk Forma project to connect:.
- Select Connect.
The model is connected without copying the file. Your plan needs the Autodesk integration, and the Plannerly app must be added in your Forma or ACC account; see the guides on linking your Autodesk account in Related.
Open the model beside your tasks
- In the Verify header, open the work package selector and choose Models, then select your model.
- Use the view switch at the bottom of the screen: Model shows the task board on the left and the 3D model on the right.

If it doesn't work
I can't see Upload File, only a general explanation of Verify
Your role does not include manage models. Ask a project Manager to upload the model or change your permission.
An upgrade or trial message appears when I upload
Your plan has no model uploads left, or none included (for example a Free or Education plan). Upgrade or start a trial from the message. Autodesk Forma also needs a plan that includes the Autodesk integration; otherwise the card is disabled with the tooltip Upgrade for extra functionality.
Autodesk Forma says no hubs or projects were found
Plannerly cannot see any projects in your Autodesk account. Add the Plannerly app integration in your Forma or ACC account, or ask your Autodesk admin. A model already connected shows the message This model has already been connected to this project.
The model is stuck preparing, or the 3D view is blank
Look for Processing failed or Model preparation did not finish on the model's row and use Retry processing in its Actions menu. The 3D viewer loads from Autodesk, so it needs an internet connection.
Common questions
Which file types can I upload to Plannerly Verify?
Model files the Autodesk viewer can open, including rvt, ifc, dwg, dwf, dwfx, nwd, nwc, skp, fbx, obj, stl and 3ds. The Upload File card lists the types and how many more are supported.
Do I need an Autodesk account to upload an IFC or Revit file?
No. Uploading a file from your computer does not ask you to sign in to Autodesk. You only sign in to Autodesk to connect a model from Autodesk Forma.
How do I add a new version of a model?
Upload the new file with the same file name and extension and Plannerly adds it as a new version of the same model. Models connected from Autodesk Forma get new versions from your Forma project instead. See the lesson on re-checking a new version.
Can the whole team see the model?
Anyone who can see Verify can open a model. Models in the In Progress state are hidden from members without permission to view them, so publish or share a model when it is ready for others.
Related
- Turn the model into a scope, already linked - next: create tasks straight from the model.
- New version? Check it against the same requirements - what happens when you upload version two.
- How long does it take to upload and process files in Plannerly?
- Linking your ACC/BIM 360 account
- Troubleshooting ACC hub access in the Verify module
- Viewing Revit models in Plannerly's Verify module
- IMI Framework, formerly the UK BIM Framework - guidance on ISO 19650 information management.
Take the free Plannerly Essentials course - every lesson is a short video like this one, with a certificate when you finish.