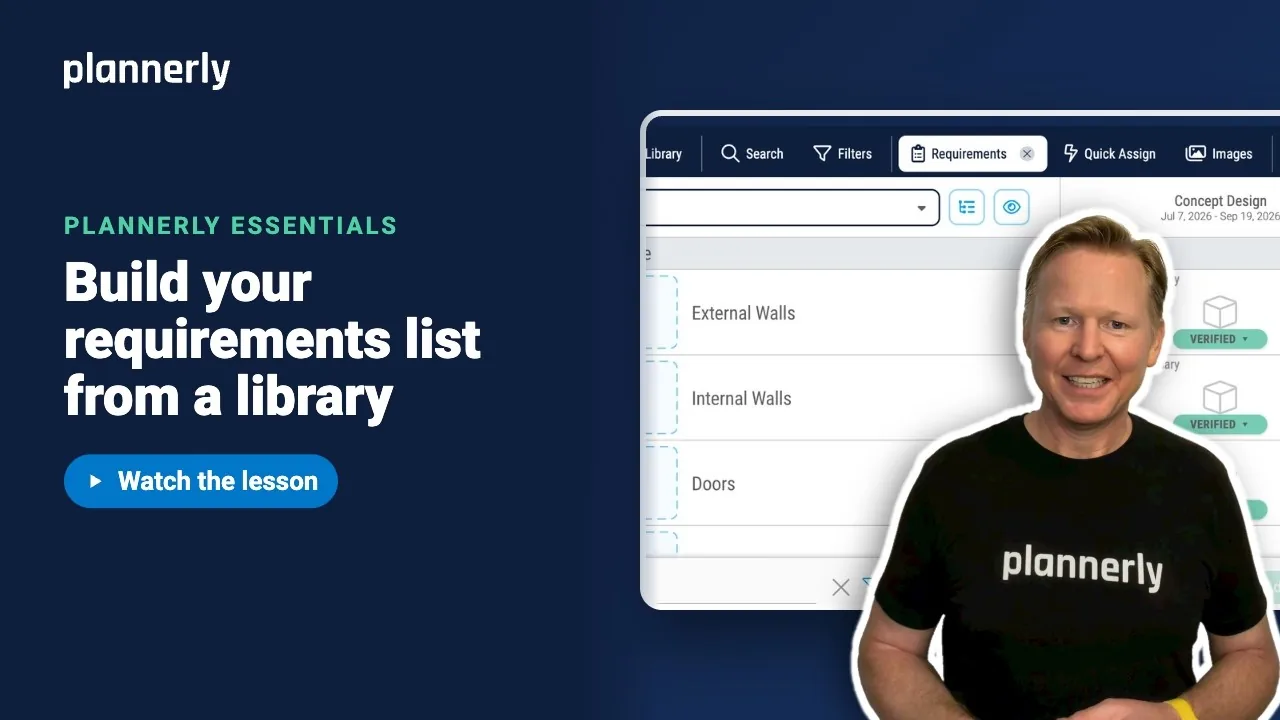
TL;DR - In Scope, open Requirements, select Browse Library, pick a template or one of your own projects, tick what you need and select Add Selected. If you already have a spreadsheet, use Import requirements (CSV) instead.
Who this is for
Project members with the Manage Information Requirements permission, usually project managers and information managers. Without it the Requirements button shows "This feature is not available for your role". Viewers cannot be given this permission. The panel is not shown on phones.
Why it matters
Every project needs a list of what each model element must carry: which properties, in which group, with what value. Typing it again for every project is slow, and every copy drifts a little. Starting from an agreed list means each project asks for information the same way.
Add requirements from the Library
- In Scope, select Requirements in the floating toolbar (its tooltip reads "Information Requirements Management"). The Requirements panel opens at the bottom of the screen.
- Select Browse Library. A Library panel opens on the left.
- Open the source dropdown. It has two submenus: Templates and My Projects. Choose a template, or choose one of your other projects to copy its requirements. The Library opens on the first template whose name contains "IFC" if your account has one.
- Use the search box to narrow the list, for example type wall to find wall properties.
- Select Select Filtered to tick everything the search found, or tick individual rows.
- Select Add Selected, then Close Library.
The requirements now sit in your project's list. Each one keeps its group, name, verification rule and value, and the count beside Requirements goes up.


Import requirements from a spreadsheet instead
- In the Requirements panel, select Import requirements (CSV). It sits in the panel header, and also on the empty panel as Import CSV.
- Select Download Example CSV File to see the layout. The file needs header columns such as Type, Name, Description, Tags, Verification Rule, Value and Units (Group is accepted too). There is also a Download .xlsx template with picklists.
- Drop your CSV file into the box and select Import. The Ignore Errors switch lets the import carry on past rows it cannot read.
To take your list out again, use Export CSV. It downloads every saved requirement in the project, even ones hidden by your current filters.
If it doesn't work
Browse Library is greyed out or shows a role message
You need the Manage Information Requirements permission on the project. Ask a project manager to add it to your role.
The Templates menu is empty, or there is no IFC template
Templates depend on your account and may be empty. Use My Projects to copy requirements from a project you belong to. If that shows "No Projects Available", you have no other project yet - create the list with Create New or import a CSV file.
My CSV import added nothing or stopped
Check the header row matches the example file. Switch on Ignore Errors to skip rows that cannot be read, then look for the missing ones and fix them in the file.
I added the same requirement twice
Open Manage, find the row and use its Delete icon. Requirements are stored once per project, so deleting one affects every row that uses it.
Common questions
How do I copy information requirements from one Plannerly project to another?
Open Requirements in Scope on the new project, select Browse Library, open the source dropdown, choose My Projects and pick the project. Tick the requirements you want (or use Select Filtered) and select Add Selected.
Can I import information requirements from Excel?
Yes, as a CSV file. In the Requirements panel select Import requirements (CSV), use Download Example CSV File for the layout, drop your file in and select Import. If your spreadsheet is a client's requirement matrix with elements and milestones, use AI Import instead.
What is a Pset_WallCommon requirement?
Pset_WallCommon is an IFC property set that groups common wall properties such as FireRating and IsExternal. Searching the Library for wall finds these, so you can add them as requirements.
Can I export my requirements list?
Yes. Select Export CSV in the Requirements panel for a spreadsheet, or use Export, then IDS Specifications to create an IDS file other tools can read.
Related
- Write a requirement a model can be checked against - create your own when the library does not have it.
- Tell every task team what to deliver, and when - the next step.
- ISO 19650 requirements management in Scope
- Choose your project's LOD or LOIN standard
Take the free Plannerly Essentials course - every lesson is a short video like this one, with a certificate when you finish.