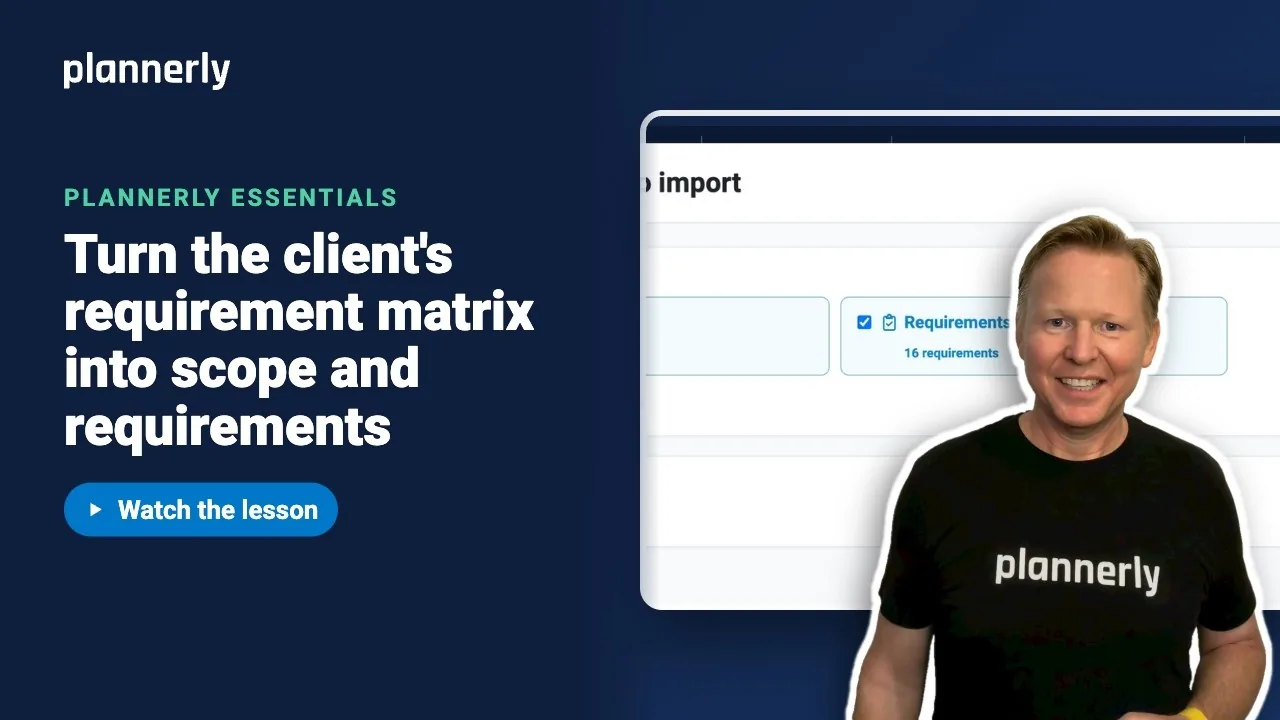
TL;DR - In Scope, select Import, then AI Import, drop in the spreadsheet, choose Import as Scope and select Start import. Keep Requirements ticked on the review step, then select Create project content.
Who this is for
Project managers. Importing as Scope needs Manage Scope Items; including Requirements needs both Manage Information Requirements and Assign Information Requirements to Tasks. Without import permission the row shows "Importing is a Manager action". AI Import is marked Beta.
Why it matters
A client matrix can run to hundreds of elements, several stages and a thousand ticks. Rebuilding it by hand takes days, and retyping slightly reinvents it. Importing keeps the client's requirements intact and puts each one on the right element at the right milestone.
Which spreadsheets Plannerly recognises
Plannerly recognises a requirement matrix without any instructions when it has:
- an Element column (or Component, Object or Asset);
- a Parameter column (or Property, Attribute or Information Requirement);
- at least two milestone columns marked with Y, YES, X, a tick or TRUE;
- optionally Pset or Group, Data Type, Units, Description and IFC Entity columns.
COBie alphanumerical matrices, asset information requirement sheets and geometrical requirement matrices are recognised too. Name the milestone columns exactly like your project's milestones; titles that do not match create new milestones.
Import the matrix
- In Scope, select Import in the toolbar, then AI Import.
- Drop the spreadsheet into Choose documents (up to 10 PDF, Word, Excel, CSV, IDS or XML files).
- Next to Import as, choose Scope.
- Select Start import and wait. Larger sheets take a little while.

Review and create
- The review step shows what Plannerly will create, and a note such as "Plannerly recognized this requirement matrix", with the numbers of elements, requirements and milestone assignments.
- Under Create in, check that Requirements is ticked along with Scope. For a recognised matrix it is ticked already - leave it. Unticking it would drop the requirements.
- Select Create project content. The window closes and a summary message lists what was created.

The elements are now scope rows, with their requirements assigned at the milestones the matrix marked. Open the Requirements panel to see the list and the Applied To counts.

If it doesn't work
The notice says Plannerly did not recognise a matrix
Check the sheet has an Element column, a Parameter column and at least two milestone columns with Y, X or tick marks. You can also type what matters into Import instructions before you start.
Requirements is greyed out under Create in
You need both Manage Information Requirements and Assign Information Requirements to Tasks. Ask a project manager.
The import is blocked because the matrix is too large
Plannerly stops matrices whose task cells exceed a safe import limit. The message gives the numbers. Split the workbook by discipline or stage and import the parts.
New milestones appeared that I did not expect
Column titles that do not match an existing milestone create a new one. Rename the milestones in the sheet or the project so they match, and import again after deleting the extras.
Common questions
How do I import a requirement matrix from Excel into Plannerly?
Use Import, then AI Import in Scope. Drop the workbook in, choose Import as Scope, select Start import, keep Requirements ticked on the review step and select Create project content.
Does the import create the tasks and the assignments too?
Yes. Elements become scope rows, parameters become information requirements, and each mark in a milestone column assigns that requirement to that element at that milestone.
Can I check the result before it is created?
Yes. The review step lists what will be created and you can untick parts before selecting Create project content.
Does AI Import need a particular permission or plan?
It needs the permissions above. No subscription gate was found for it, but it uses your account's AI allowance.
Related
- Tell every task team what to deliver, and when - assign by hand.
- Bring in an IDS and see exactly what it asks for - when the client sends an IDS file.
- Asset information requirements (AIR)
- Choose your project's LOD or LOIN standard
Take the free Plannerly Essentials course - every lesson is a short video like this one, with a certificate when you finish.